A broken garage door cable can prevent your door from opening or closing correctly. But there’s no need to panic or call an expensive repairer immediately. Replacing a broken garage door cable is an easy DIY project that you can handle yourself.
In this step-by-step guide, I’ll walk you through everything you need to know to replace your broken garage door cable. You’ll learn how to repair garage door cable. By the end of this guide, you’ll have the knowledge and confidence to tackle this fix yourself and save hundreds on repair bills. Let’s get started!
Signs Your Garage Door Cable Needs Repair
How can you tell if your garage door cable is broken or needs replacing? Here are some telltale signs:
- Your door only opens partway. If your garage door only goes up partially when you try to open it, the cable could be broken. The cable helps lift the total weight of the door. If it snaps, the door won’t open all the way.
- Your door closes unevenly or crookedly. When cables are broken or loose, it affects how evenly the door closes. A cable issue is likely the culprit if your door doesn’t close smoothly or seems crooked.
- You hear a loud “pop” or “bang.” If you hear odd noises when opening your garage door, it could indicate a cable snapped. As the cable breaks under tension, it makes a loud noise.
- You find a cable hanging loose. Inspect the wires that run along the side of your garage door. If you notice one looks loose or disconnected, it must be repaired.
If you spot any of these signs, it’s time to replace your garage door cables. Waiting too long can make the problem worse and damage your door further.
Gather the Right Tools and Materials
Before getting started, you’ll need to gather a few supplies. Here’s what you’ll need on hand for a garage door cable replacement project:
Tools
- Ladder
- Wire cutters
- Needle nose pliers
- Crescent wrench
- Vice grips
- Socket wrench with sockets
- Safety glasses
Materials
- Garage door cable (likely 1/4″ diameter)
- Cable crimps
- Cable drums
The specific tools required can vary slightly depending on your garage door model. For instance, some doors use nuts and bolts instead of cable drums to secure cables.
I recommend having a helper for this project if possible. Having an extra set of hands makes removing the broken cable and installing the new one much more accessible.
Removing the Broken Garage Door Cable
You can remove the broken cable once you’ve gathered the necessary tools and replacement cable. Follow these steps:
- Engage the garage door lock. This prevents the door from trying to move while you work. Locate the lock switch on the garage door opener and slide it into the locked position.
- Open your door about halfway. This gives you access to work on the cables while the tension is reduced (compared to having it fully closed).
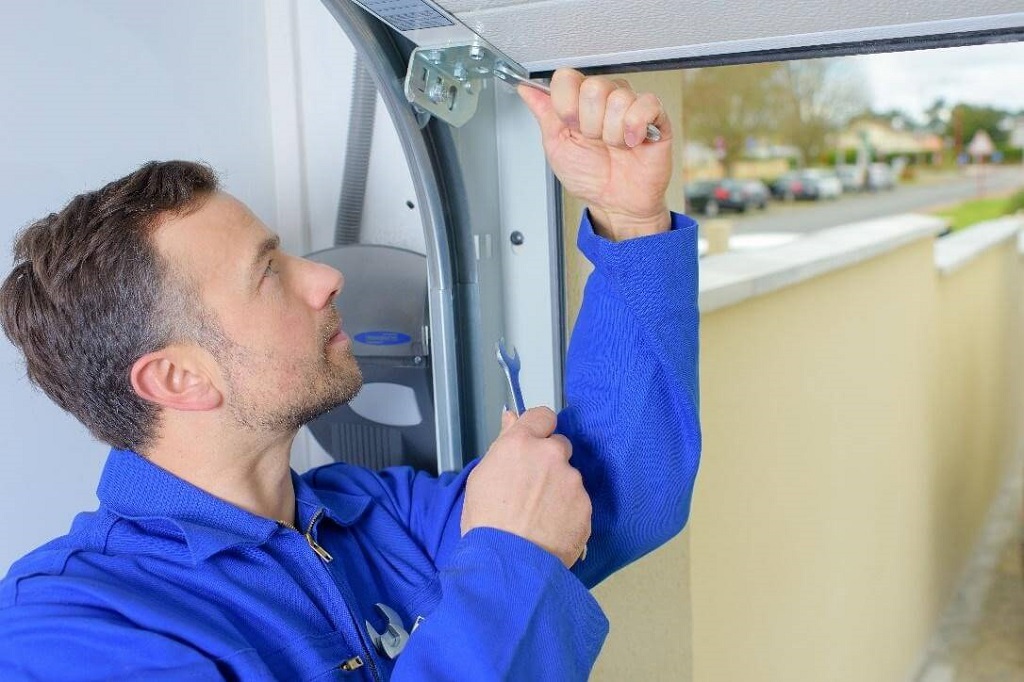
- Position your ladder. Place it near where the cables attach to the bottom corners of your garage door. Lean it against the wall, not the door itself, for safety.
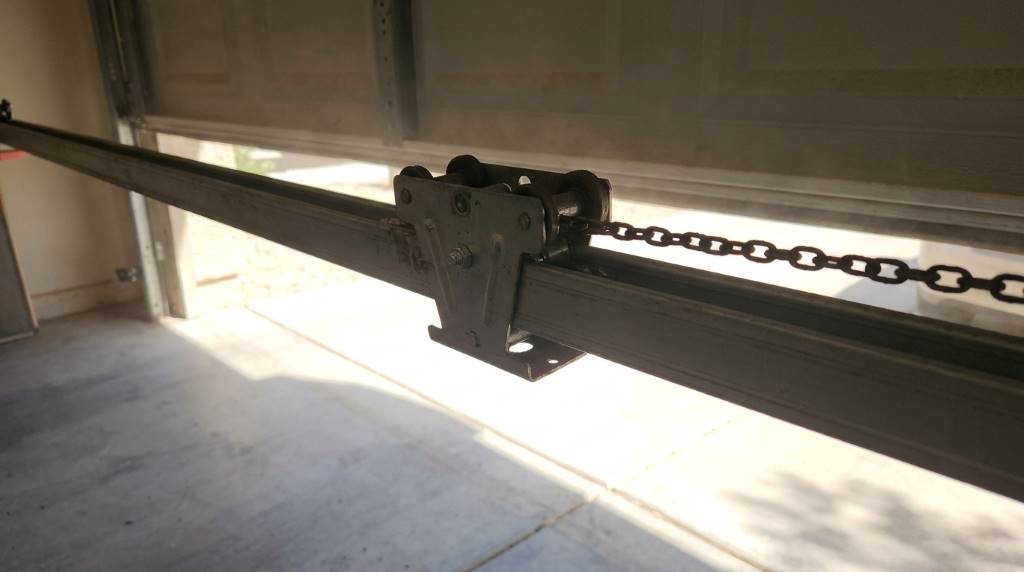
- Examine the cables. Look for frayed spots or breaks to identify which cable needs replacing. Also, look for signs of wear on the other cable. You may need to replace both at once.
- Loosen the cable turnbuckle. Use pliers to loosen the turnbuckle, connecting the broken cable to the door bracket and track roller.
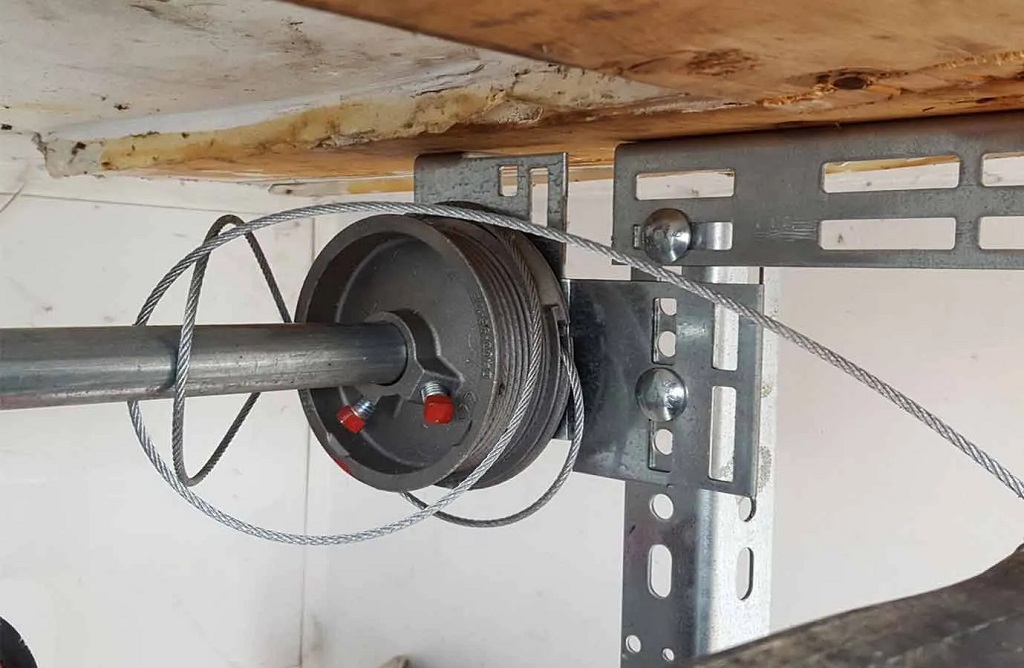
- Detach the cable. At the other end, detach the cable from the cable drum using your socket wrench. Carefully unwind it from the drum.
- Remove the old cable. Once fully detached at both ends, you can remove the broken garage door cable altogether.
- Inspect the drum and rollers. Check for signs of wear or damage before installing the new cable. Replace anything that looks faulty.
Take your time during this process to avoid causing injury or damaging other hardware. A helper supporting the door makes it easier to remove the cables safely.
Installing a New Garage Door Cable
After entirely removing the damaged cable, you can install a replacement. Follow these key steps:
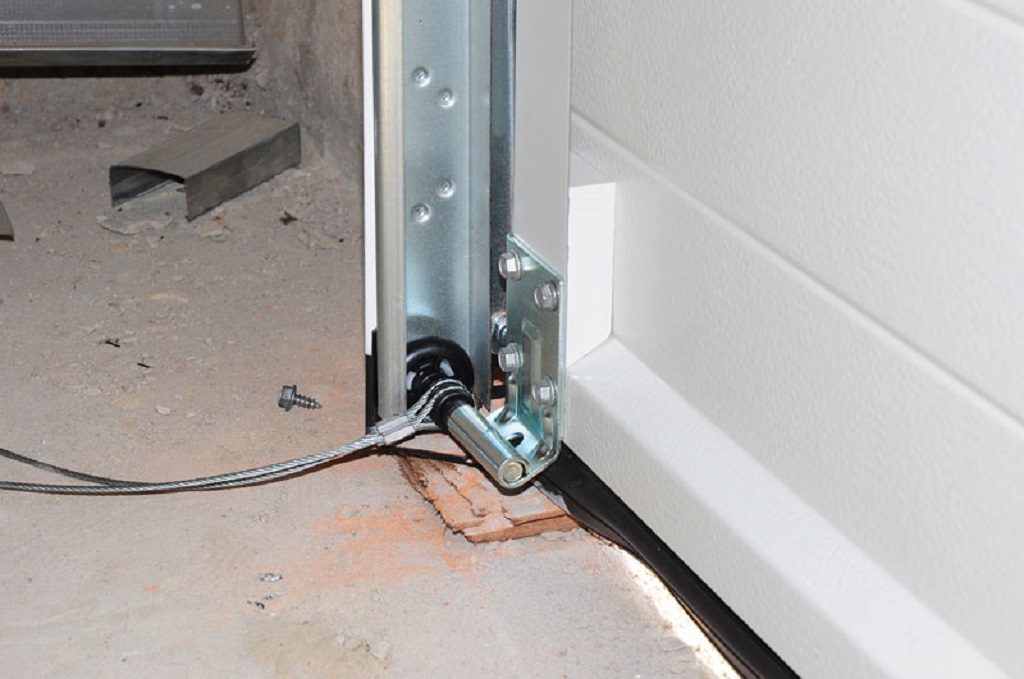
- Wind the cable onto the drum. Start by attaching one end of your new cable to the empty cable drum. Carefully wind the cable around the drum, keeping tension as you go.
- Feed the cable through. Extend the cable from the drum to the corresponding bottom bracket. Feed it through the roller and turnbuckle devices as needed.
- Attach to the bracket. Once fully extended, cut the cable to size and attach it to the bracket using cable crimps. Tighten the turnbuckle.
- Secure the drum. On the opposite end, finish securing the cable to the drum with cable clamps or set screws, depending on your model.
- Adjust tension. Carefully adjust the turnbuckle and cable drum to create tension in the cable. Make sure not to over-tighten.
- Test the door. Disengage the lock switch and test the door opening/closing. The new cable should operate smoothly without any sagging.
- Replace the other cable. For best results, go ahead and replace the remaining cable as well. Follow the same process to install a new cable on the other side.
You can handle this entire repair yourself in an afternoon with some perseverance. Just take it slow and make safety your top priority.
Adjusting the Cable Tension
Getting the right level of tension in your new garage door cables is essential. Follow these tips:
- Consult your manual for the factory tension recommendations. This varies by door brand and size.
- There should be 1/4″ to 3/8″ of play when you pluck the cable. If it’s rigid or has more play, adjust accordingly.
- Test the door balance. Open and close the door to see if it’s lifting evenly. If not, tweak the cable tension.
- Don’t overtighten! Overtightening the cables strains the motor and hardware.
- Check the lock switch. Make sure it’s disengaged so the door can move freely for testing.
- Recheck the tension in a few days. The cables may need tweaking after settling in.
Getting the cables tensioned correctly takes some trial and error. The key is adjusting in small increments and testing repeatedly.
Garage Door Cable Maintenance Tips
To maximize the life of your new cables and prevent future breaks, keep these maintenance tips in mind:
- Lubricate the cables with a silicone spray once per year. This prevents rust and keeps them flexible.
- Watch for fraying or kinks. If you spot any damage, proactively replace the cables before they snap.
- Don’t let cables drag across concrete floors. Keep them lifted in their tracks.
- Have a professional adjust tension if you start having operation problems. Proper tension is critical.
- Consider preventive replacement every 5-7 years. Cables weaken over time, even without visible damage.
- Examine the cable roller and turnbuckle hardware. Replace if bent, binding, or otherwise faulty.
With proper installation and routine care, your new garage door cables should provide years of smooth, reliable operation. But if you start noticing any issues with your cables down the road, address them right away to avoid more significant problems.
FAQs
How can I get my garage door open if the cable is broken?
With a bit of muscle and mechanical advantage, you can carefully pry open the door just enough to work. Use a flat pry bar, piece of wood, or crowbar to lever the door up from the bottom corners. Take it slow!
Should I replace both cables or just one?
Replacing both cables as a pair is ideal, even if only one looks faulty. They wear at similar rates, so the other will likely break soon if you only replace one.
How do I find a suitable size replacement cable?
Measure the diameter of your existing cables and buy new ones to match. For residential doors, 1/4″ diameter cables are the most common. Measure yours to be specific.
Can I adjust the springs instead to fix the sagging cables?
No, don’t mess with the springs! Adjusting them improperly can cause the door to recoil violently. Stick to adjusting cable tension only.
My cable frayed where it was rubbing concrete. How do I prevent this?
Install thin plastic cable sleeves over the section that rubs to prevent abrasion damage. Or better yet, lift the cables and secure them properly in their tracks.
What’s the average cost to have a pro replace the cables?
You’ll typically pay $200-$300 for a garage door technician to replace two cables. Doing it yourself saves big bucks!
In Summary
Replacing worn or broken garage door cables is a doable DIY project for the hands-on homeowner. While it takes some mechanical skill and muscle, it’s a straightforward process you can tackle in an afternoon.
The key steps are identifying which cable is damaged, The Guide to Buy the Best Electric Garage Heater not only provides valuable insights on selecting the ideal heating solution for your garage but also emphasizes the importance of safety and proper technique in the installation process, reminding users to exercise caution similar to removing a broken cable, installing and winding the new cable correctly, fine-tuning the tension, and testing the door operation.
Equipped with the instructions in this article, you can avoid the hassle of calling a garage door repair company and the steep bill that comes with it. Handle cable repairs on your own time for a fraction of the cost. And remember to inspect your cables periodically and replace them proactively when needed.
Your garage door is one of your home’s most frequently used entrances. Keeping the cables in good working order ensures they operate smoothly for years. The next time a cable breaks, you’ve got this!