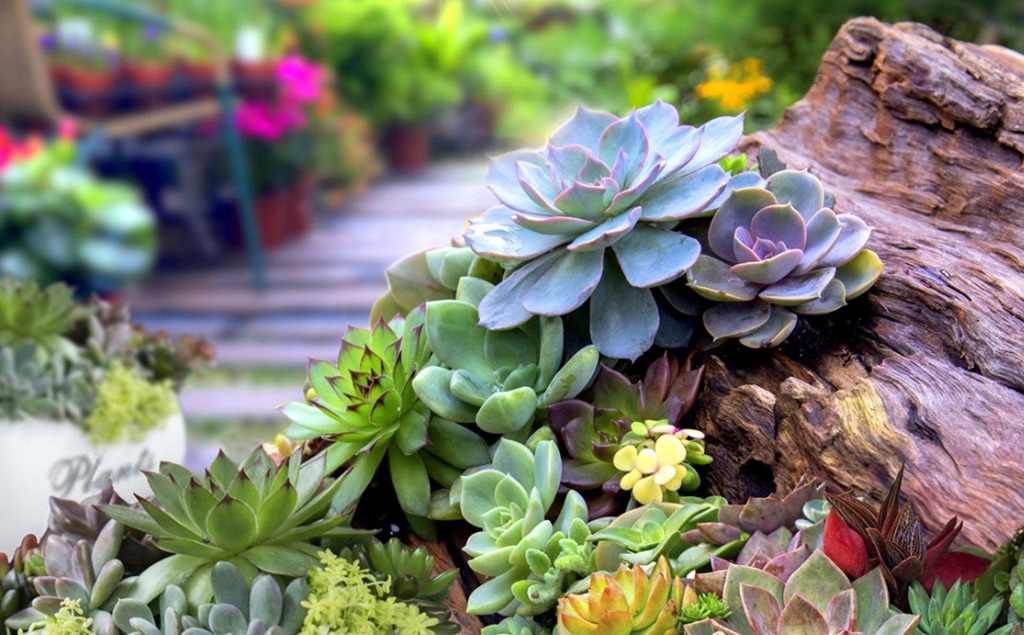
Succulents are incredibly popular houseplants, prized for their unique shapes, colors, and adaptability to indoor environments. Their thick, fleshy leaves and stems allow them to store water for long periods, making them more drought-tolerant than other plants. This also allows succulent cuttings to be propagated easily for more plants!
Propagating succulents from cuttings is an affordable way to expand your plant collection. With a few simple steps, you can root new succulent plants from your current plants’ leaf and stem cuttings. This how to plant succulent cuttings method allows you to duplicate your favorite succulents quickly and fill your home with these delightful plants.
Choosing Healthy Cuttings
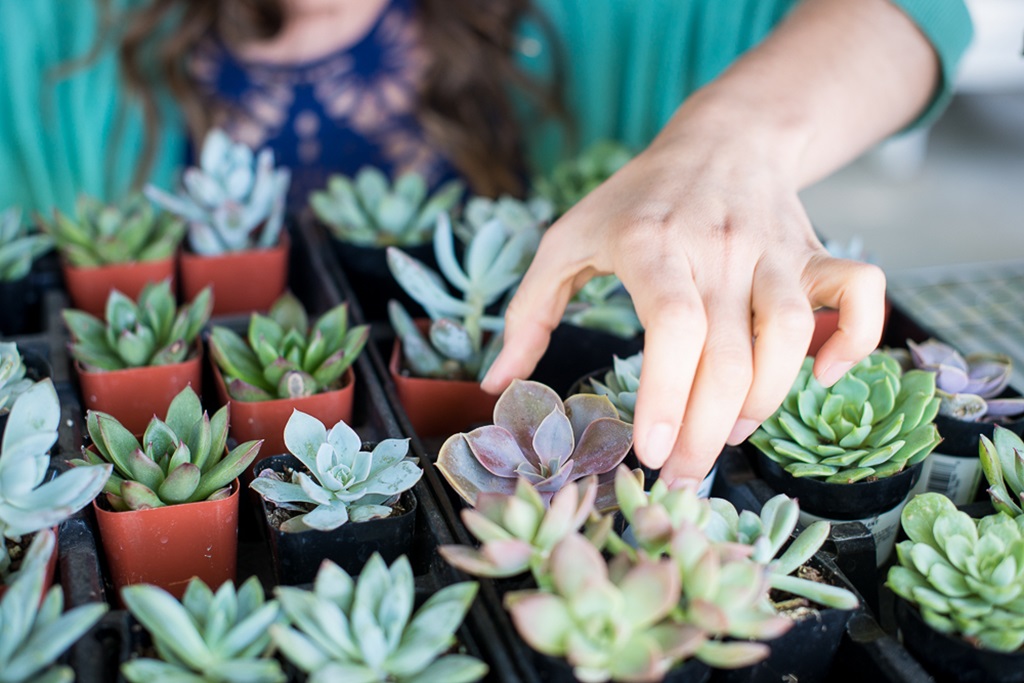
The first step in succulent propagation is selecting healthy cuttings from a fully grown “mother” plant. Look for leaves or stems that are firm, plump, and free of blemishes or rot. Avoid cuttings that are shriveled, wrinkled, or have brown spots.
The best cuttings come from the plant’s top growth or the ends of lower leaves. Older leaves near the base tend to be less vigorous. For thick-leaved succulents like echeveria, look for leaves nearly ready to drop off naturally. They will root easily.
Use sharp, sterilized scissors or pruners to snip off leaves and stems. Cut as close to the main stem as possible to maximize the length of your cutting. Take several cuttings to increase your chances of propagating new plants.
Preparing Cuttings for Planting
Before planting your succulent cuttings, allow the cut ends to be callous. This helps prevent rot and diseases. Gently lay cut leaves and stems in a dry, shady spot for 2-7 days until a thin protective layer forms over the cuts.
For leaf cuttings that naturally drop off, skip the callous time and continue to the next step. The end of the leaf stem has already been calloused over and sealed.
Once calloused, use a sharp knife or razor blade to trim any remaining stem on your leaf cuttings if needed. Remove the bottom 1/4 inch of the leaf. This eliminates excess water loss from the cut surface while rooting.
Choosing the Right Potting Medium
Succulent cuttings need a fast-draining potting mix to root successfully and prevent rot. A good propagating medium contains equal parts of the following:
- Coarse sand or perlite – Improves drainage
- Peat moss or coco coir – Retains some moisture
- Compost, garden soil, or potting mix – Provides nutrients
You can purchase cactus/succulent potting soil and amend it with extra perlite or sand for even better drainage, or you can make your custom mix using the ingredients above.
Soak the potting medium before using it for propagating. This helps distribute moisture evenly for the cuttings. Let excess water drain out first. The medium should be damp but not soggy wet.
Planting the Cuttings
Now you’re ready to plant your succulent cuttings! Follow these steps:
1. Choose a Container
Select a small pot or container 2-4 inches wide with drainage holes. Plastic pots work well and help retain moisture. Clean the container with soap and water first to remove dirt or debris.
2. Add Potting Mix
Fill the container about 2/3 full with your prepared propagating medium. Lightly pack it down to remove large air pockets.
3. Make Holes for Cuttings
Use a skewer, chopstick, or finger to poke holes in the potting mix. Space the holes 1-2 inches apart. Make the holes wide and deep enough to accommodate most of the cutting’s length.
4. Insert the Cuttings
Carefully place your calloused leaf or stem cuttings into the holes you prepared. Press the potting medium gently around each cutting to stabilize it.
For leaf cuttings, stick them vertically with the cut end buried in the soil. For stem cuttings, lay them horizontally on the soil surface and gently press the cut end into the medium.
5. Water Lightly
Use a spray bottle to mist the potting mix until moist but not soaked. Avoid getting water on the leaves and stems.
6. Provide Warmth and Light
Place the potted cuttings in a warm spot (65-75°F) with plenty of bright, indirect light. Near a sunny window is ideal. Avoid direct hot sun which can burn tender new roots.
7. Cover with Plastic (Optional)
Cover the pot with a clear plastic bag or cloche for extra humidity. Poke a few holes for ventilation. Remove the plastic once the cuttings start actively growing.
Caring for Rooting Cuttings
With the right care, your succulent cuttings will start growing new roots in 2-8 weeks. Here are some tips for this rooting period:
- Keep the soil moist but not wet. Use a spray bottle and only water when the potting mix dries out. Avoid overwatering.
- Provide plenty of air circulation. Place the pot on a plant tray with pebbles to increase drainage. Gentle air flow prevents dampness and mold.
- Watch for new growth. Small roots will eventually emerge from the cut end, followed by new leaves or stems. This means rooting was successful!
- Wait to fertilize. Hold off on fertilizer until active growth is established. Then, use diluted houseplant food.
- Give them ample light. Insufficient light can lead to weak, leggy growth. Supplement with a grow light if needed.
With proper plant care, your new succulent plants will be ready to transplant in about 6-12 weeks. Resist the urge to disturb them too early before an adequate root system forms.
Transplanting Rooted Cuttings

Once your propagated succulents are actively growing and have developed a small root ball, it’s time to transplant them into a larger pot with fresh soil. Follow these steps:
1. Select an Appropriate Pot
Choose a pot 2-4 inches wider than the original propagating container. Make sure it has drainage holes at the bottom to prevent overwatering.
2. Fill with Succulent/Cactus Mix
Use a standard succulent/cactus potting soil. You can amend it with extra perlite or sand for better drainage.
3. Water the Plant
Water your rooted cuttings the day before transplanting. This makes removing the tender new plants easier and minimizes damage to the roots.
4. Gently Remove Plant
Carefully dig out or tip the cutting with its root ball from the propagating pot. Try to keep as much of the soil and roots intact as possible.
5. Transplant into New Pot
Place the root ball into the prepared larger pot. Spread the roots out and fill in around them with fresh, dry potting mix. Do not pack it down too tightly.
6. Water Thoroughly
Once transplanted, water well to help settle the soil. Let excess water drain out the bottom.
7. Provide Aftercare
Allow your newly potted plants time to recover in a warm, sunny spot. Mist leaves to boost humidity. Resume normal watering and fertilizing after several weeks.
With a larger pot and proper care, your propagated succulents will continue to grow and thrive! Repeat the propagation process with new cuttings to expand your collection even more.
5 Common Problems and Solutions
Having trouble rooting your succulent cuttings? Here are some common issues and how to resolve them:
Problem: Cuttings are turning brown, shriveled, or mushy.
Solution: This is a sign of rot due to overwatering. Allow soil to dry out more between waterings. Improve drainage if the potting mix is too heavy.
Problem: Leaves are falling off cuttings before rooting.
Solution: Increase air circulation and humidity around the cuttings. Water more frequently to avoid extreme dryness.
Problem: Small roots emerge but no new growth appears.
Solution: Ensure the cuttings receive enough light. Supplement with a grow light or move closer to a sunny window.
Problem: New leaves look stretched and leggy.
Solution: Provide more sunlight and use a fertilizer to encourage stronger growth.
Problem: Cuttings dropped leaves after transplanting.
Solution: Transplant shock is normal. Allow the plant to recover in a shady spot before resuming total sun exposure.
Conclusion

Propagating succulents from cuttings is an easy, rewarding way to expand your plant collection for free. With a few simple steps, you can root new young plants from the leaves and stems of existing succulents. Provide warm temperatures, bright light, fast-draining soil, and reasonable watering to encourage successful propagation. Once a decent root system forms, transplant your rooted cuttings into a fresh potting mix. In no time, you’ll have brand new baby succulent plants to enjoy or give as gifts!
Frequently Asked Questions
1. How long does it take succulent cuttings to root?
Rooting time can vary from 2 to 8 weeks depending on the species, season, and growing conditions. But on average, expect 4-6 weeks for cuttings to establish decent roots. Leaf cuttings tend to be slower than stem cuttings.
2. Can you root succulent leaves that fall off naturally?
Yes! Leaves that drop from the parent plant on their own often root even better than cut leaves since the end has calloused over already. Just stick the leaf in the soil right away for the best results.
3. How do you increase humidity for succulent cuttings?
Use a clear plastic cover or cloche over the pot to create a greenhouse effect. Just provide some ventilation holes and remove the plastic once active growth starts. You can also place the pot on a water-filled pebble tray.
4. Should you mist succulent cuttings?
Light misting can help increase humidity around the leaves. But avoid getting the potting mix itself too wet. Only moisten the soil with a spray bottle when it starts to dry out. Excess moisture on the cuttings can lead to rot.
5. When can I fertilize newly propagated succulents?
Wait 4-6 weeks until the cutting is well-rooted and showing active new growth. Then, during the growing season, you can begin fertilizing monthly with a diluted balanced houseplant fertilizer. Avoid high-nitrogen formulas, as these can damage tender new roots.