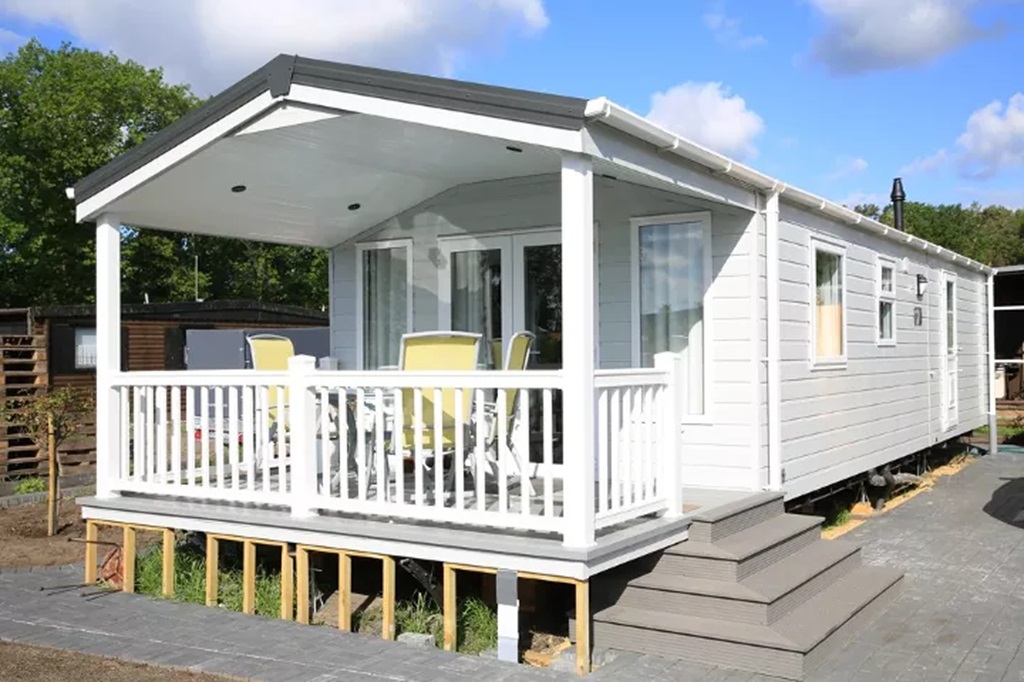
Owning a mobile or manufactured home can be an affordable way to buy a property. However, it’s important to properly secure it against heavy winds and storms which can cause the home to shift or even flip over. Installing mobile home tie downs is crucial to anchor your mobile home securely to the ground.
In this comprehensive DIY guide, we will walk you through the whole process of selecting, buying, and installing mobile home tie downs correctly. Whether you just moved into a manufactured home or want to re-secure one that’s aging, this article will equip you with what you need to know.
Understanding Mobile Home Anchoring Basics
Before we dive into the installation, let’s first cover some fundamental concepts around anchoring mobile homes.
Why Proper Anchoring is Critical
Mobile and manufactured houses are more vulnerable in storms than site-built homes. Without tie downs keeping them anchored, they can sway, collapse, or even detach from their foundation when faced with powerful winds.
Properly installed anchors literally save lives and properties by securing the home firmly through all types of inclement weather. Structural damage or accidents can easily be prevented with adequate tiedowns.
How Anchors Work
Anchors and tiedowns work together as a system to stabilize mobile homes. Anchors attach to the I-beam or frame underneath the house, while tiedowns tether the anchors to ground augers rooted deep in the soil around the home.
The augers anchor the tiedowns similar to tent pegs, giving a strong reinforcement against winds lifting the home upwards. The evenly distributed anchors then stabilize the frame so the home stays level when buffeted side-to-side.
Getting To Know Tie Down Components
A complete tiedown system comprises a few key components:
- Anchors: Steel fixtures usually with an eye-hook to attach tiedowns to the I-beam.
- Tiedowns: Straps, cables or rods connecting anchors to augers outside.
- Augers: Ground screws dug deep into the soil for maximum grip.
- Turnbuckles: Tensioning devices on the tiedowns for adjusting tautness.
- Anchoring equipment: Power drill, driver bit, saddle clamps, cable cutters, wrenches etc.
Later sections will explore specifications to look for when buying these parts.
Applicable Standards and Regulations
In the US, the Department of Housing and Urban Development (HUD) issues federal standards that mobile home anchoring systems must comply with, in accordance to the Manufactured Home Construction and Safety Standards Act.
DIY homeowners may not need to strictly adhere, but following the HUD guidelines ensures your anchors and tiedowns are up to code. Key regulations cover:
- Proper sizing of tiedown components
- Required spacing between augers
- Minimum depth of buried augers
- Specified installation procedures
- Mandatory testing and certification of products
Check your state laws too – some locales stipulate extra rules for manufactured home anchors beyond the federal standards.
Anchor Layout Planning
The full anchoring specification entails technical considerations for competent engineering. But as a rule of thumb, include mobile home tie downs at minimum:
- At each corner of the house
- Both sides of doorway openings
- Close to major interior walls and partitions
Space the augers evenly around the perimeter without them obstructing openings like doors or windows. Mark out your planned layout before installing.
Now let’s get ready to start anchoring your mobile home!
Preparing for Installation
Securing a manufactured house requires some prep work before putting in the anchors themselves.
From gathering your tools and gear to clearing space around the home, here is a pre-installation checklist:
Safety Gear
- Hard hat (for protection from falling debris)
- Safety goggles (guarding eyes from dust)
- Dust mask (filtering fine air particles)
- Ear plugs (mute noise from power tools)
- Knee pads (cushion against hard surfaces)
- Work gloves (grip objects firmly)
- Steel-toe boots (shield feet from heavy items)
Wear adequate protective equipment when installing anchors underneath the house – safety first!
Tools Needed
Common hand tools
- Measuring tape
- Wrench set
- Pliers
- Screwdrivers
- Hammer
- Shovel
- Saw (for removing skirting board)
Power tools
- Impact driver
- Power drill
- Earth auger
- Circular saw (for skirt removal)
Other utilities
- Wheelbarrow
- Ladder
- Headlamps + work lights
Gather all the necessary gear beforehand so they’re on hand when required.
Materials To Buy
- Anchors: Galvanized steel fixtures meeting or exceeding HUD standards. The required load capacity depends on your climate zone and house dimensions.
- Tiedowns: Aircraft-grade steel cables or galvanized rods. Diameter and length is based on the anchor ratings. Turnbuckles should match the cable thickness.
- Augers: Length and quantity is determined by the tiedown type used and number of anchors.
- Saddle clamps: For securing cable tiedowns onto the I-beam frame.
- Miscellaneous: Extra cable crimps, snap links, thimbles, cable cutters etc.
Only use certified anchoring products tested for safety – don’t compromise quality to save costs.
Clear Access Under The House
Remove any existing anchor system, debris, vegetation or obstacles around the perimeter of your manufactured home. You’ll need clear access right round.
For homes with skirt boards attached, detach panels where you plan to install new anchors. Use a circular or reciprocating saw to neatly cut openings.
Create sufficient crawl space to work under the floor cavity. Remove ducting, plumbing or wiring hindering installation access if necessary.
With prep work done, it’s time to start putting in anchors!
Installing The Anchors
Mounting anchors to the chassis involves working upside down squeezed under your mobile home. Let gravity help by preparing components in advance before getting under the house.
Follow these steps to securely fasten anchors in place:
1. Locate The Chassis I-Beam
The chassis I-beam is the solid metal structural frame running around the house perimeter. Shine a flashlight to spot the flanges which anchors clamp onto.
Identify the beam sections nearest your planned anchor points. Mark these external areas on the siding to align over your head when going underneath.
2. Prepare The Anchoring Assembly
For cable systems, feed one end of the tiedown through the turnbuckle barrel and crimp a thimble on with cable clamps. Attach snap links on both turnbuckle eyelets.
On the other tiedown end, loop a thimble and leave plenty of spare cable to thread back through the anchor later.
For rod tiedowns, use clevis pins to connect turnbuckles directly to the steel rod ends instead.
3. Enter The Crawl Space
Wearing safety gear, carefully climb into the crawl space and maneuver to your first marked anchor point on the I-beam.
Use a ladder if the clearance is too low. Bring your torch and prepped anchor components with you.
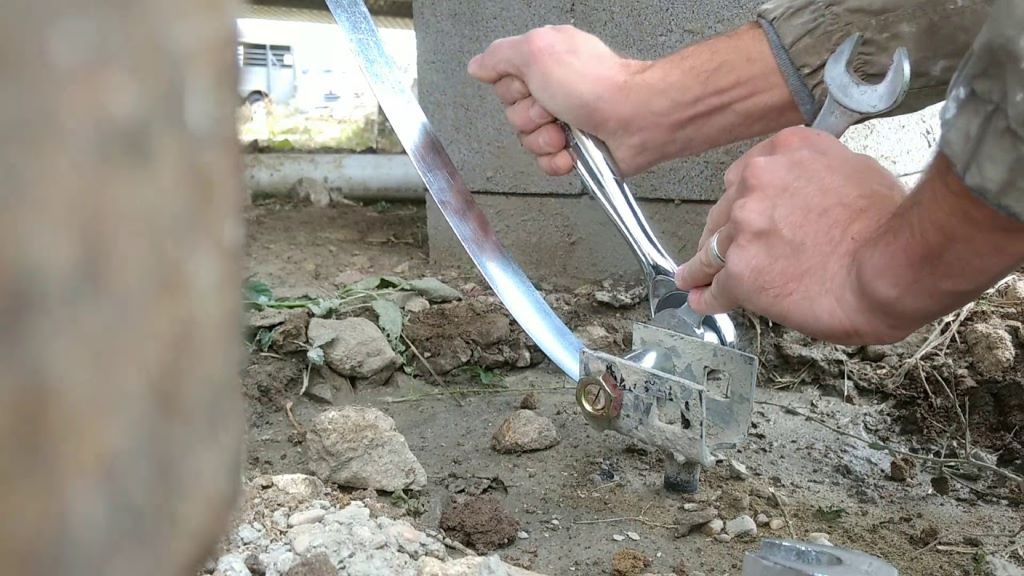
4. Clamp The Anchor On
Position the anchor bracket against the flange so the eyelet hole aligns sideways. Tighten the U-bolt saddle clamp with wrenches until firmly secured on the I-beam.
Repeat underneath all planned anchor stations evenly spaced apart.
5. Attach The Tiedowns
Adjust the turnbuckle to fully open both eyelets. Clip one turnbuckle end link onto the anchor bracket.
For cable systems, thread the loose end through the anchor eyelet back towards the turnbuckle. Pull it taut before crimping a second thimble on. Attach this last thimble onto the turnbuckle using a snap link.
Confirm no cables can detach from the assembly when tensioned. The anchor is now fully secured!
6. Tension & Recheck
Wind the turnbuckle inner sleeve to tension the cable until taut. Use hex wrenches to turn the adjustment barrel.
Visually inspect that the crimps, snap links and turnbuckle connections are intact. Repeat for all remaining tiedown anchoring points.
Now it’s ready for connecting to the augers outside!
Anchoring The Tie Downs
With anchors mounted underneath the mobile home, it’s time to anchor the external end of tiedowns into the ground.
Follow these next steps:
7. Mark Auger Positions
Based on your pre-planned layout, mark out the precise auger drilling spots surrounding the house by spraying painted dots on the ground.
Space them evenly not less than 4 ft from the edge of home. Adjust positions to avoid windows or doors.
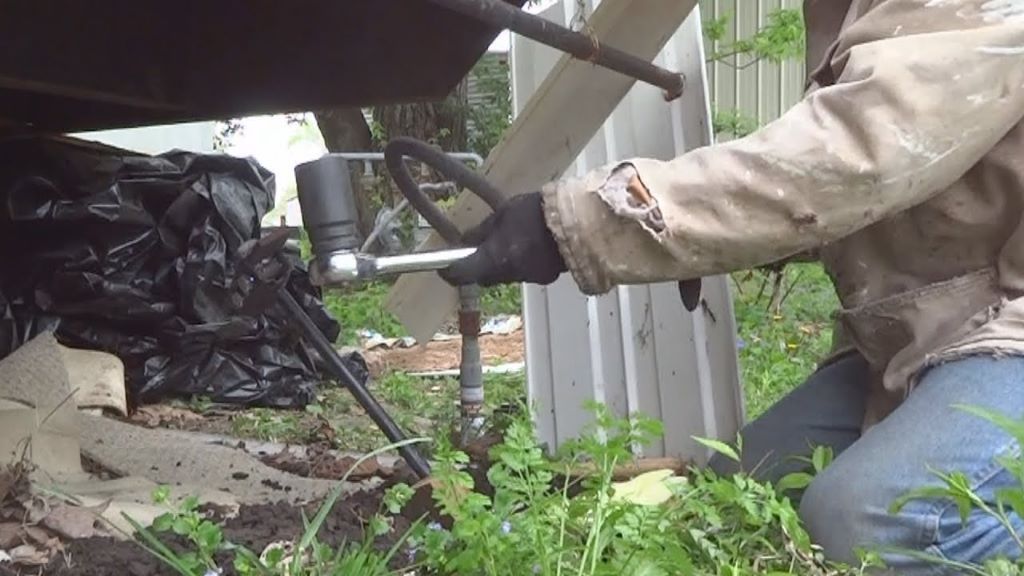
8. Hammer In Ground Anchors
Use an electric powered auger drill to bore holes vertically at least 4 ft deep. Clean out loose debris at the bottom.
Drop an approved auger into each hole. Fill any void at sides with packed soil. Leave auger eyelet proud above surface.
9. Connect To Anchors
Clip tiedown turnbuckle end links to the ground anchor eyelets. For rod systems, secure clevis pins.
Ensure the turnbuckles halfway point is now directly over the hole. This allows maximum adjustment leverage in both directions.
10. Tension The Cables
Wind the turnbuckle inner sleeve again towards the auger. Keep turning until the tiedown cable becomes snug and taut.
Don’t over tension causing the home frame to visibly shift. Use hex wrenches to fine tune to optimal tautness.
The mobile home is now safely anchored against winds in all directions!
Testing & Maintenance
The anchoring project is complete! But don’t neglect occasional checks and upkeep for long-term performance.
- Visually inspect tiedowns regularly for any obvious damage or loosening.
- Retension turnbuckles yearly or whenever cables appear loose. A 1/2 turn is often sufficient.
- Test auger grip yearly by pulling firmly upwards with a pole. Reset any loosening out of the ground.
- Check under home before winter for any loose debris that could jam moving parts.
- Lubricate turnbuckle barrel threads occasionally with spray lubricant to prevent rust seizing.
- Upgrade components like cables and anchors over time if worn or outdated.
Don’t hesitate to appoint professional mobile home installers for periodic servicing, upgrades or replacement of aged anchors when required.
Stay anchored and secured!
Frequently Asked Questions
How deep should my augers be installed?
Federal standards specify augers must be embedded at least 4 ft measured from ground level to the bottom tip of the helix. Ensure proper depth for maximum grip.
Can I do this alone or do I need help?
DIY installation is definitely achievable alone if you’re reasonably fit and mobile. But having an extra helper makes tasks like boring holes and maneuvering augers much easier and safer.
How soon can my home be occupied after installing anchors?
Once correctly tensioned and secured according to specifications, the mobile house can be immediately reoccupied without risk. Do safety checks before allowing tenants back in.
Is using concrete deadmen anchors acceptable?
Yes poured concrete deadmen can safely provide anchorage also. But they require more specialized tools and materials to install underground. Augers are simpler for DIYers.
How do I calculate the correct cable sizes and load capacity?
Determining the proper anchor ratings and specifications requires professional engineering input based on your exact home model and climate wind zones. For DIY, follow HUD code compliant product listings.
Conclusion
Hopefully this guide has shown that installing manufactured home anchors is an achievable DIY mobile home tie downs project. While intensive at first, correctly putting in tie downs ultimately safeguards your property for the long term against storm damage.
Enhancing the accessibility of your home begins with being meticulous with prep work, using quality gear, and methodically tensioning each component when installing accessibility features; this commitment ensures robust anchoring that follows regulations, as cutting corners jeopardizes the anchors’ reliability when they are most needed.
Remember to periodically inspect and maintain the system. Upgrading aging parts proactively ensures many more years of reliable service securing your mobile abode.
Stay safe and secured living the mobile home lifestyle!