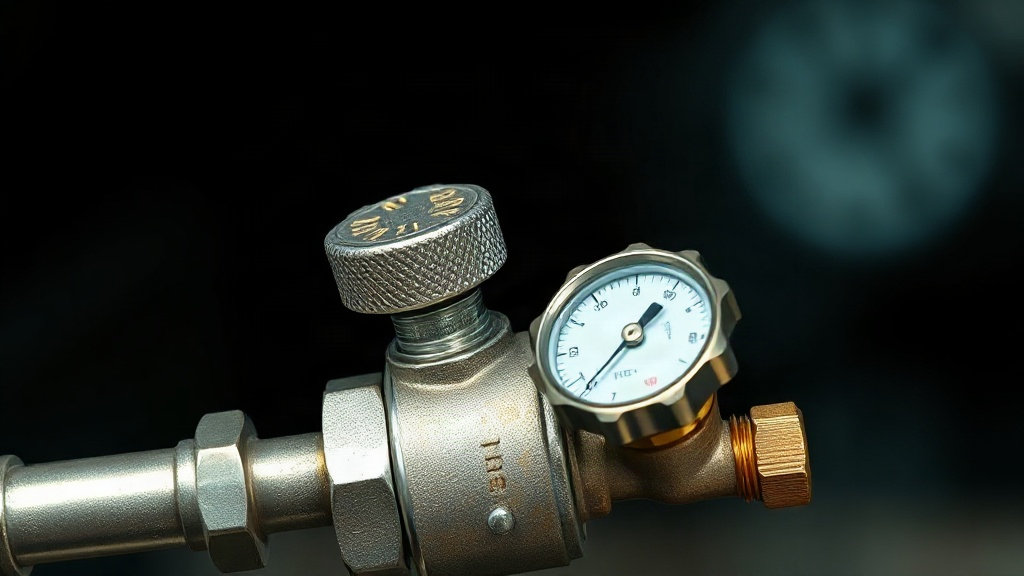
Your water pressure should feel steady every time you turn on a tap. When it spikes, sputters, or creeps upward overnight, the small device controlling it may be failing. Pressure regulator replacement is often the fix, and it is a job many homeowners put off longer than they should.
Quick answer: Replace a failing pressure regulator when pressure readings drift above roughly 80 psi, when you hear continuous humming at the valve, or when the unit stops adjusting at all. A licensed plumber can usually swap a standard residential regulator in one to three hours. The part itself typically costs between $50 and $150, with labor adding more depending on access and local rates.
This guide explains what a pressure regulator does, how to recognize a failing one, and how to plan a replacement without damaging your plumbing. You will also see the mistakes that turn a simple swap into a costly repair.
What is pressure regulator replacement?
A pressure regulator is a bell-shaped valve installed on your main water line, usually near the meter or where the supply enters the house. It reduces incoming pressure to a safe, steady level, generally around 50 to 60 psi for most homes. Pressure regulator replacement means removing that worn valve and installing a new one calibrated for your household.
Inside the device sits a spring-loaded diaphragm. As water pushes against it, the diaphragm moves a plunger that opens or closes the flow. That balance keeps downstream pressure stable even when the municipal supply surges. Like any mechanical part, the diaphragm weakens over time. Sediment, mineral scale, and years of cycling all take a toll.
Signs the regulator needs attention
A failing regulator rarely dies without warning. Watch for these signals:
- Pressure above 80 psi on a gauge screwed onto an outdoor hose bib
- A pressure gauge on the regulator itself that no longer moves
- Water hammer, banging pipes, or a humming valve
- Sudden drops in pressure when a second fixture turns on
- Faucets and appliances wearing out faster than expected
Any one of these points to a problem worth diagnosing. Two or more together make replacement the likely answer.
What the job involves
Replacement is more involved than it looks. The plumber shuts off the main supply, drains the line, and confirms the pipe material and diameter. Many older valves are soldered, so the joints must be cut or unsweated. Newer installations use threaded unions, which speeds the work considerably.
Expect the process to include:
- Shutting off water and relieving residual pressure
- Measuring the existing line size, often ¾ inch in homes and 1 inch or larger on commercial lines
- Removing the old valve and cleaning the pipe ends
- Installing the new regulator with unions or solder joints
- Flushing the line and testing with a pressure gauge
- Adjusting the outlet pressure to the target setting
Installing unions is a smart move. It means the next replacement can be done without cutting pipe again.
A regulator protects every fixture downstream of it. Replacing a worn valve often restores steady pressure to the entire house at once.
Takeaway: Pressure regulator replacement is a targeted plumbing repair, not a full system overhaul, and the right valve plus clean installation usually solves the problem.
Why pressure regulator replacement matters
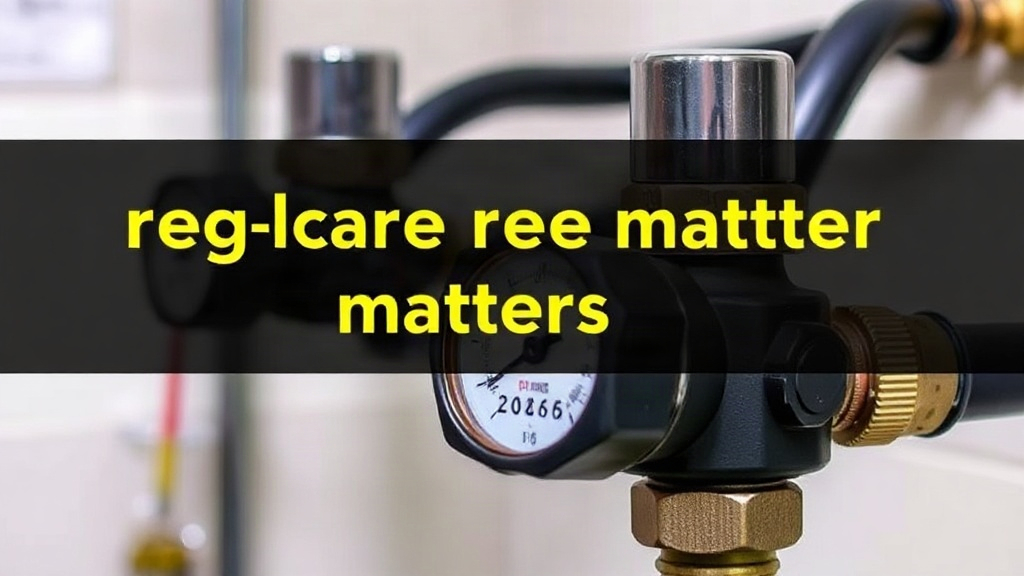
Water pressure that runs too high is a slow, quiet destroyer. Municipal systems can deliver 100 psi or more to your property, and your plumbing is designed for far less. Without a working regulator, every pipe, fitting, and appliance absorbs that stress.
The damage shows up in predictable ways. Supply hoses on washing machines and dishwashers burst more easily. Toilet fill valves and faucet cartridges fail early. Water heaters develop leaks at the relief valve and tank seams. These repairs add up quickly, and some cause significant water damage.
Protection for your plumbing and appliances
Most household plumbing fixtures are rated for a maximum working pressure around 80 psi, and many manufacturers recommend staying near 60 psi. A functioning regulator keeps you well under those limits. Replace a failing one and you extend the life of:
- Water heater tanks and their pressure relief valves
- Washing machine and dishwasher supply hoses
- Faucet cartridges and shower valves
- Toilets and their fill and flush mechanisms
- Irrigation lines and outdoor spigots
Each of these parts is inexpensive on its own. Replacing several in a single year costs more than a new regulator.
Lower risk of leaks and water damage
High pressure finds the weakest joint in the system. A pinhole leak in a hidden wall or under a slab can go unnoticed for weeks. By the time you spot the stain or hear dripping, the damage may include ruined drywall, flooring, or framing.
Pressure regulator replacement lowers that risk directly. It keeps the stress on pipes within the range they were designed to handle. For older homes with copper or galvanized pipe, this matters even more because aged metal tolerates less fluctuation.
Protecting the regulator itself
A regulator also guards against backflow and sudden pressure changes from the municipal supply. Fire hydrant use, main breaks, and system maintenance can send surges through the line. A healthy valve absorbs those spikes before they reach your fixtures.
If your gauge reads above 80 psi and keeps climbing over several days, treat it as urgent. Call a plumber rather than waiting for a failure.
Takeaway: The cost of a new regulator is small compared with the repair bills and cleanup that high pressure can create.
Best practices
A good outcome depends as much on installation and setup as on the part itself. Follow these practices to get the most from a new regulator.
Verify the actual pressure first
Before anyone touches a pipe, measure the pressure with a screw-on gauge at an outdoor spigot. Note the reading at different times of day because municipal pressure varies. If the reading is already in the 50 to 60 psi range and stable, the regulator may be fine and the problem lies elsewhere. A quick test saves you from an unnecessary replacement.
Also check whether your home has a thermal expansion tank. A regulator creates a closed system, and heated water needs somewhere to expand. Missing or failed expansion tanks cause pressure spikes that look like regulator failures.
Match the valve to the line and the demand
Regulators come in sizes and flow ratings. A ¾-inch valve suits most single-family homes. Larger lines and higher demand, such as irrigation systems or multi-unit buildings, may need a 1-inch or larger model. Undersizing chokes flow and causes pressure drops when several fixtures run at once.
Look for a model with a replaceable cartridge when available. It allows future servicing without cutting pipe. Choose a recognized brand with published flow curves and a clear pressure range so you know what you are installing.
Install smart and test thoroughly
Use unions on both sides of the valve to simplify future work. Leave enough clearance for a gauge and adjustment screw. After installation, flush the line briefly to clear debris, then test pressure at a nearby fixture with a gauge. Adjust the set screw until the outlet reads your target, usually around 55 to 60 psi.
Run several fixtures at once and watch for pressure drop. Check for leaks at every joint over the first 24 hours, then again after a week. These steps catch problems while they are still simple to fix.
Takeaway: Measure first, size correctly, and test after installation. A well-fitted regulator can last a decade or more.
Common mistakes to avoid
Most problems with pressure regulator replacement come from a handful of avoidable errors. Watch for these and you will sidestep the most expensive ones.
Skipping the pressure test
Installing a new regulator without first confirming the old one was the problem wastes money. Sometimes a faulty pressure gauge or a closed valve is the real culprit. Always verify the reading with a reliable gauge before ordering parts.
Choosing the wrong size or type
A valve that is too small restricts flow and creates pressure drops at showers and appliances. One that is too large may not regulate accurately at low demand. Confirm the line size and your peak demand before buying. Also make sure the valve suits your pipe material and orientation.
Reusing old fittings and ignoring debris
Reusing corroded unions or old solder joints invites leaks. Debris in the line can damage the new diaphragm almost immediately. Flush the pipe and fit clean connections.
Forgetting the expansion tank
This is a common oversight. A new regulator closes the system, and without a working expansion tank, heated water has nowhere to go. The pressure relief valve on the water heater may start dripping. Check the tank and replace it if it has lost its charge.
Setting pressure by guesswork
Some homeowners turn the adjustment screw until the flow “feels right.” That approach is unreliable. Use a gauge and set the outlet to a sensible target.
Comparison: DIY vs. Hiring a Plumber
This table compares the two common approaches for a standard residential replacement. The main trade-off is upfront cost versus the risk of leaks and improper setup.
| Factor | Do It Yourself | Hire a Licensed Plumber |
|---|---|---|
| Upfront cost | Lower | Higher |
| Tools required | Pipe cutter, torch or wrenches, gauge | None |
| Time | Half a day or more | One to three hours |
| Leak risk | Higher without experience | Lower |
| Warranty | On parts only | Often on labor too |
For soldered lines or unfamiliar pipe materials, hiring a plumber is usually the safer choice. For threaded unions and basic setups, an experienced DIYer can manage.
Some jurisdictions require a permit for main-line plumbing work. Confirm local rules before you start.
Takeaway: The most expensive mistakes are the easiest to prevent. Test, size correctly, and do not overlook the expansion tank.
FAQ
How much does pressure regulator replacement cost?
Parts usually run $50 to $150 for a standard residential valve. Labor typically adds $150 to $400, depending on access, pipe material, and local rates. Complicated installations or emergency calls push the total higher.
How often should I replace a pressure regulator?
Most regulators last 10 to 15 years, though hard water and high sediment shorten that lifespan. Test your pressure once or twice a year. Replace the valve when readings climb above 80 psi or the unit stops responding to adjustment.
Can I replace it myself?
Yes, if you have threaded unions and basic plumbing skills. Soldered connections, tight spaces, and unfamiliar pipe materials make it a job for a licensed plumber. A botched joint can cause serious water damage.
How long does the job take?
A straightforward replacement takes one to three hours. Older soldered systems and difficult access can stretch it to most of a day. Plan for the water to be off during that time.
What pressure should the new regulator be set to?
Most homes do well at 50 to 60 psi. This range protects fixtures while keeping showers and appliances comfortable. Your plumber can adjust it to your household’s needs.
Conclusion
Pressure regulator replacement protects far more than the valve itself. It shields your pipes, water heater, and appliances from the slow damage of high pressure. The job is manageable when you measure first, choose the right size, install cleanly, and test with a gauge.
Before you call anyone, screw a pressure gauge onto an outdoor spigot and note the reading. If it tops 80 psi or climbs steadily, line up a licensed plumber and confirm whether your home has a working expansion tank. That single check today can save you a flooded floor and a much larger repair bill later.